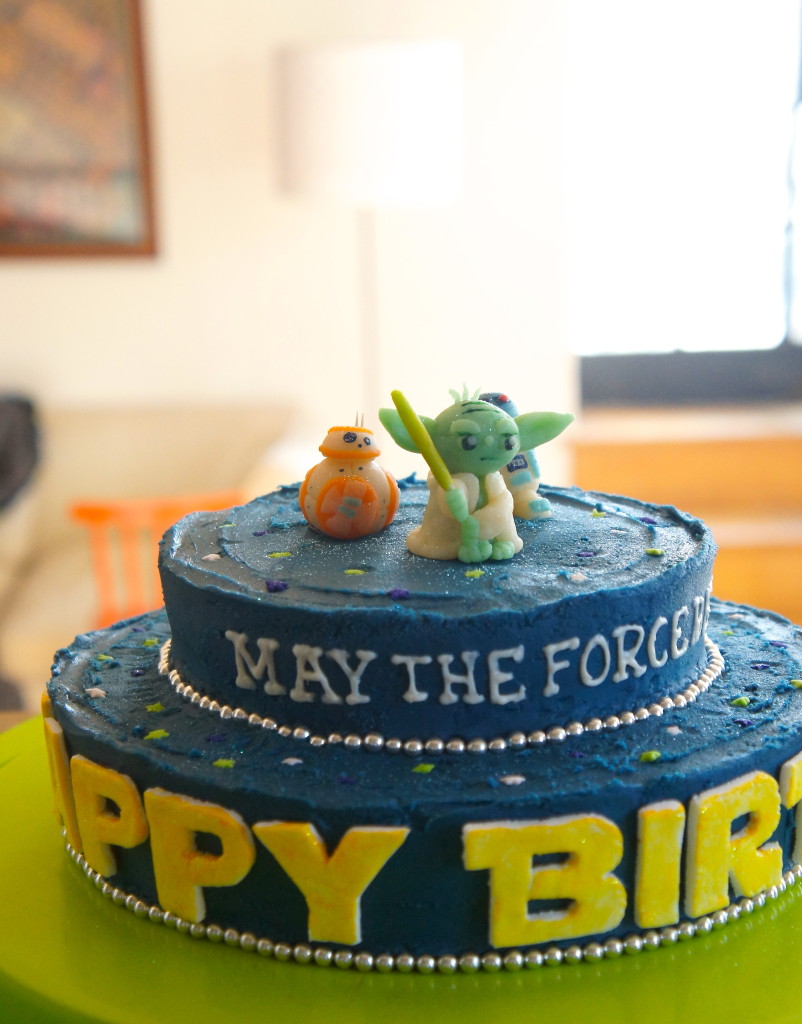
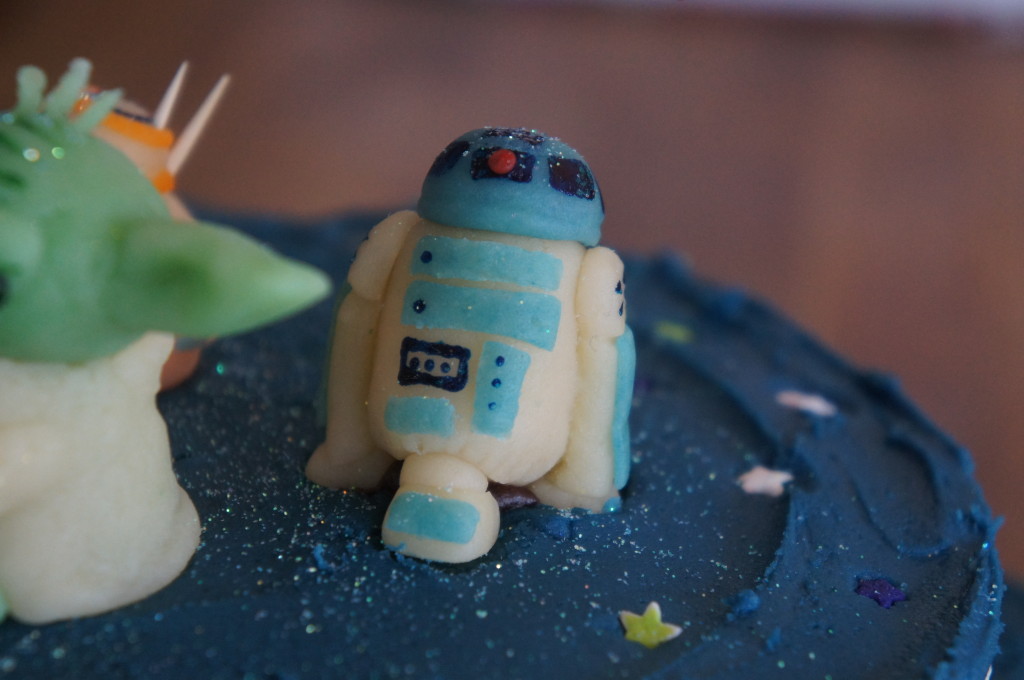
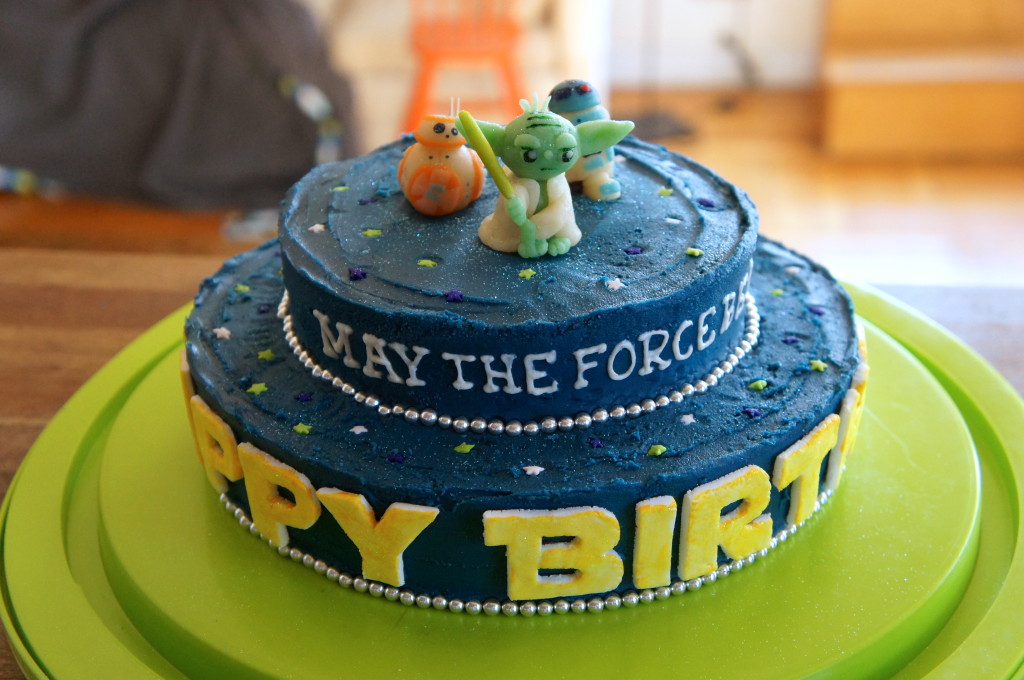
 Okay, I lied. It was actually two days ago… in my kitchen. But anyways, I made a star wars cake for Bubby’s birthday! And it was pretty fun! (although it wasn’t that fun when I was adding each dragée on one at a time with tweezers at 1:30 in the morning… but I digress).
I’m actually kind of a faux star wars fan, considering I’ve only seen the new movie (and like parts of the 1st movie). But Bubby’s basically told me everything that ever happens so I don’t think there’s any point watching the rest of the movies now to be honest. The only reason I watched the new one in the first place was because we were in India during December and my brother and dad were going to see it (cause it had just come out) and they had an extra ticket so I was like “what the heck” and I just went. And I’m glad because I really liked it! Although I’m not sure if I can ever take it seriously again after watching this…
But anyways, I’m a total star wars freak now. So when Bubs asked me to make him a star wars cake for his birthday I was like YES!
So first I made the actual cake! I didn’t want to make a box mix because that’s lame but I also didn’t want to make some elaborate recipe because let’s face it these are 12 year old boys we’re talking about. So I ended up finding a pretty simple yellow cake recipe on my name is yeh which worked out great!
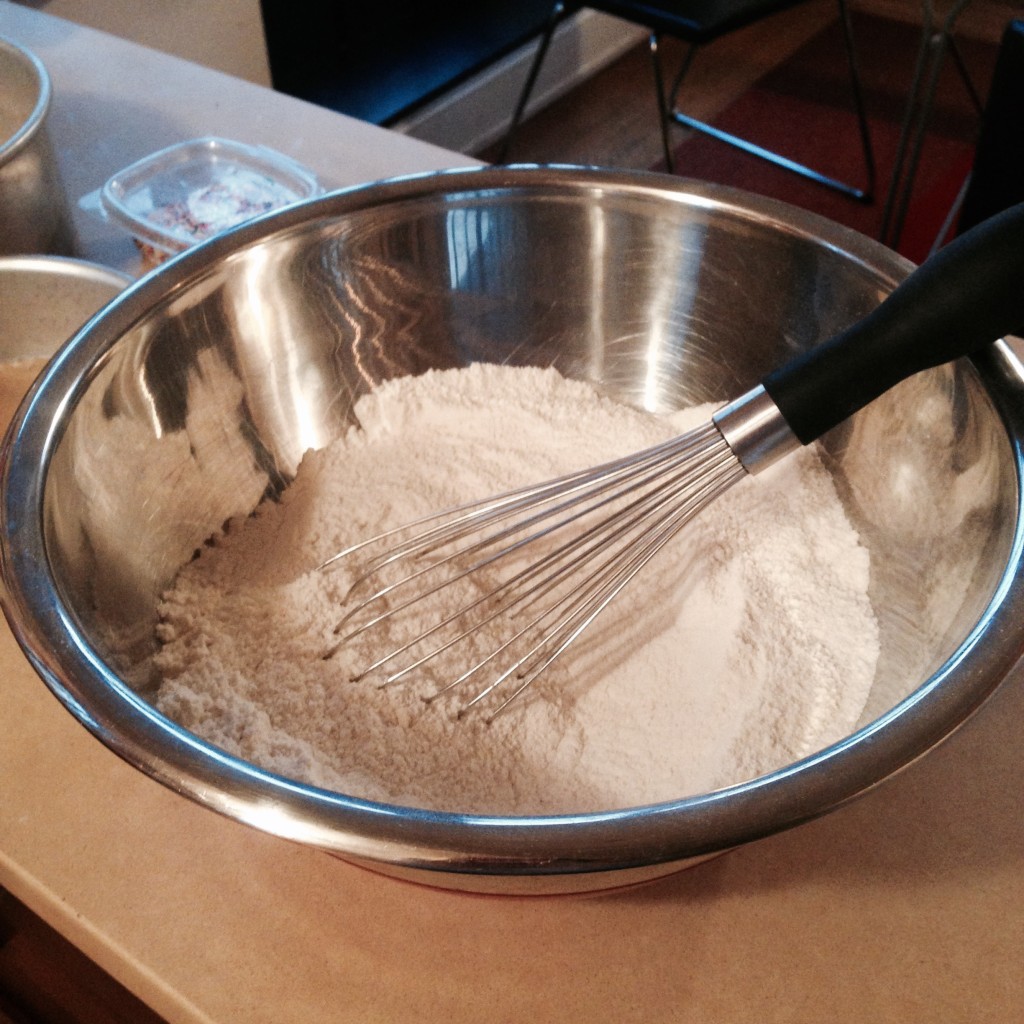 So start out by mixing all the dry ingredients together! Then move onto the wet ingredients…
 Â
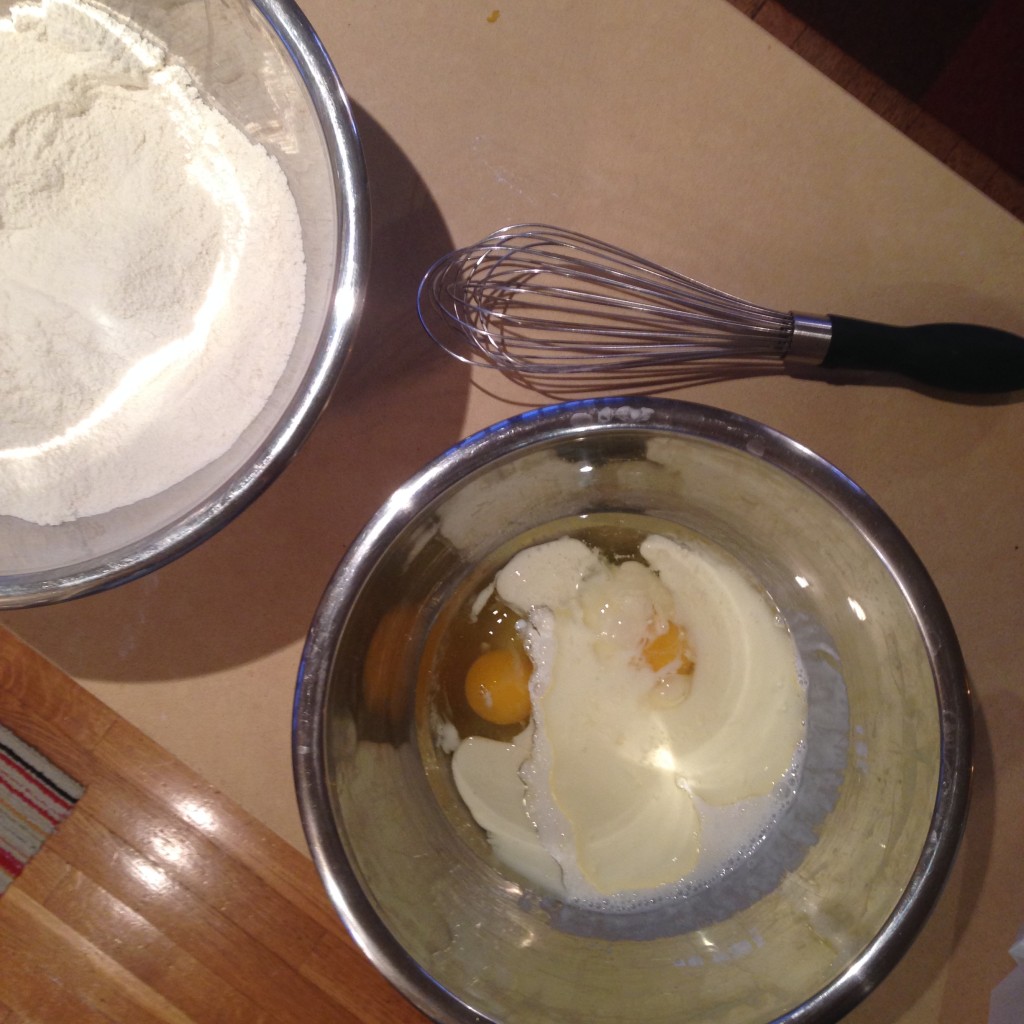
 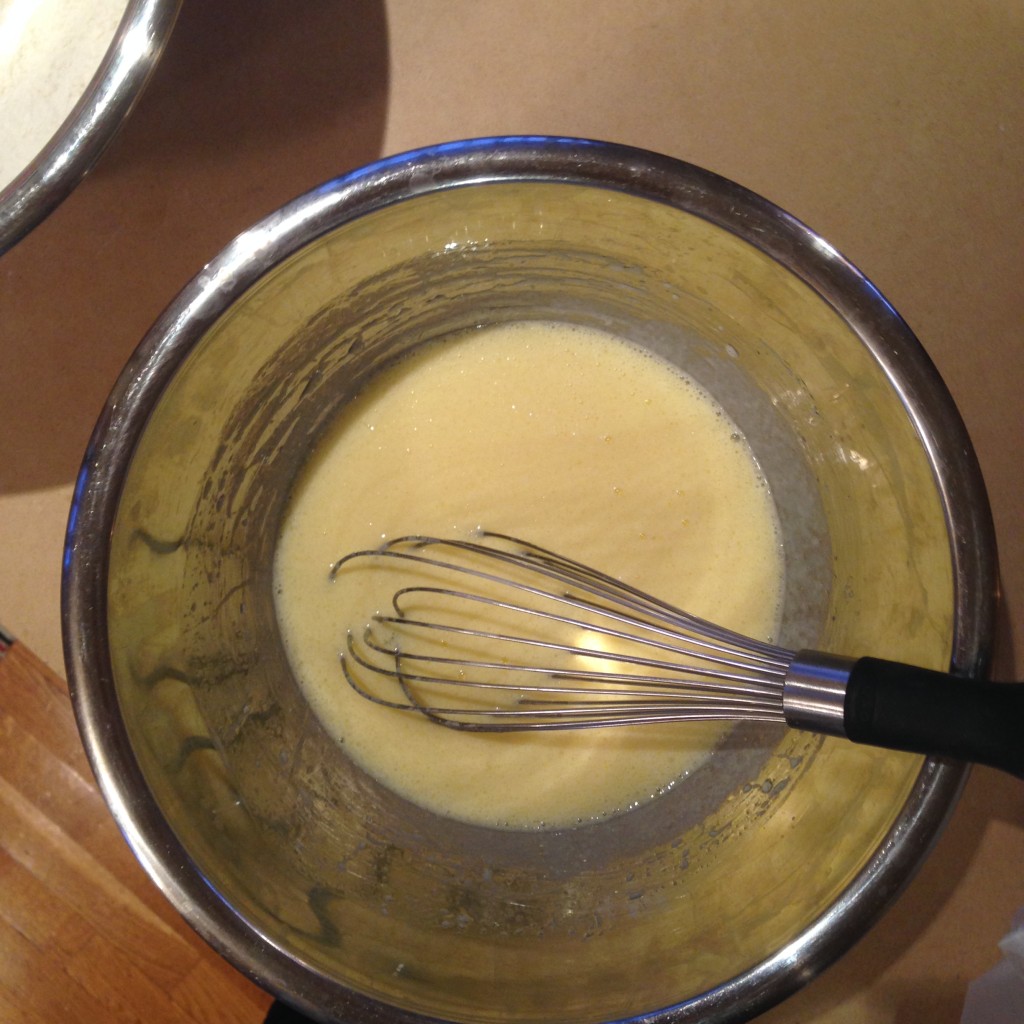 Put them all in a medium bowl and whisk em up.
 Â
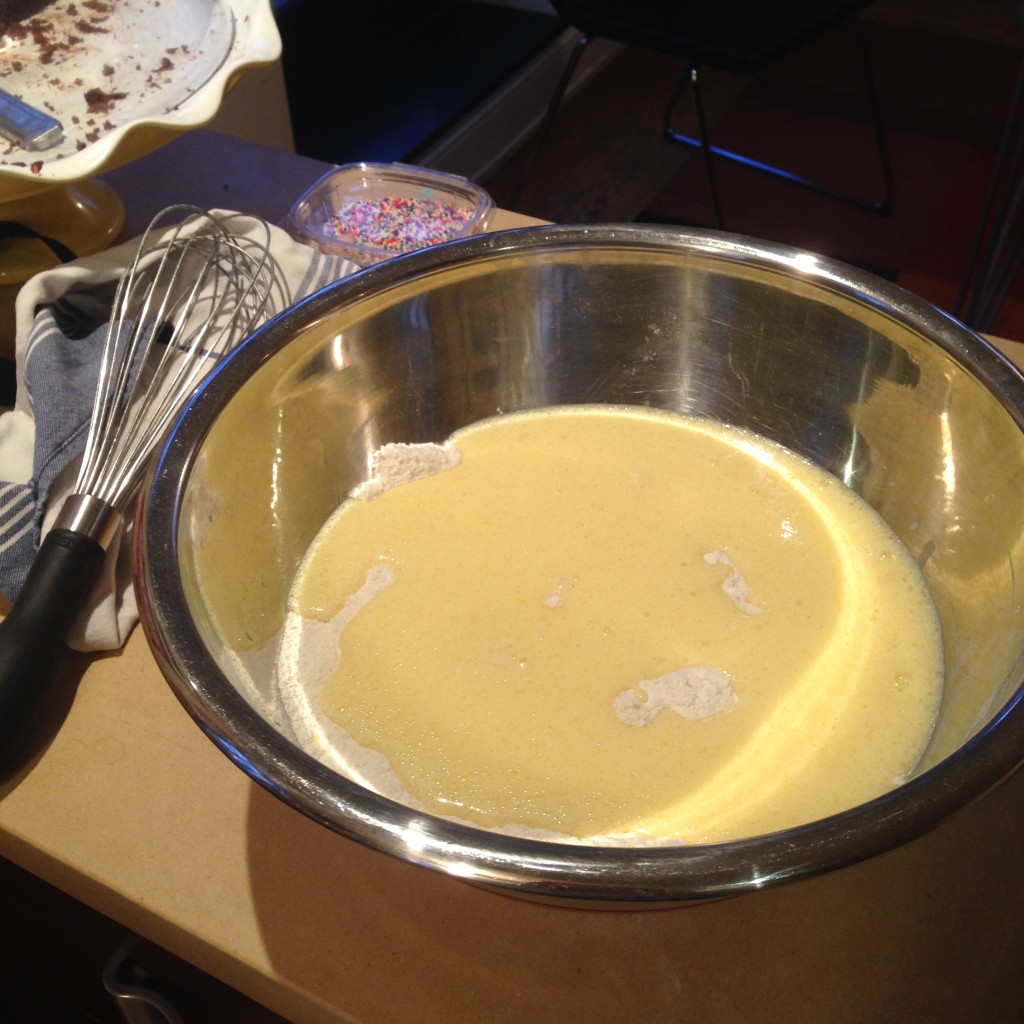
 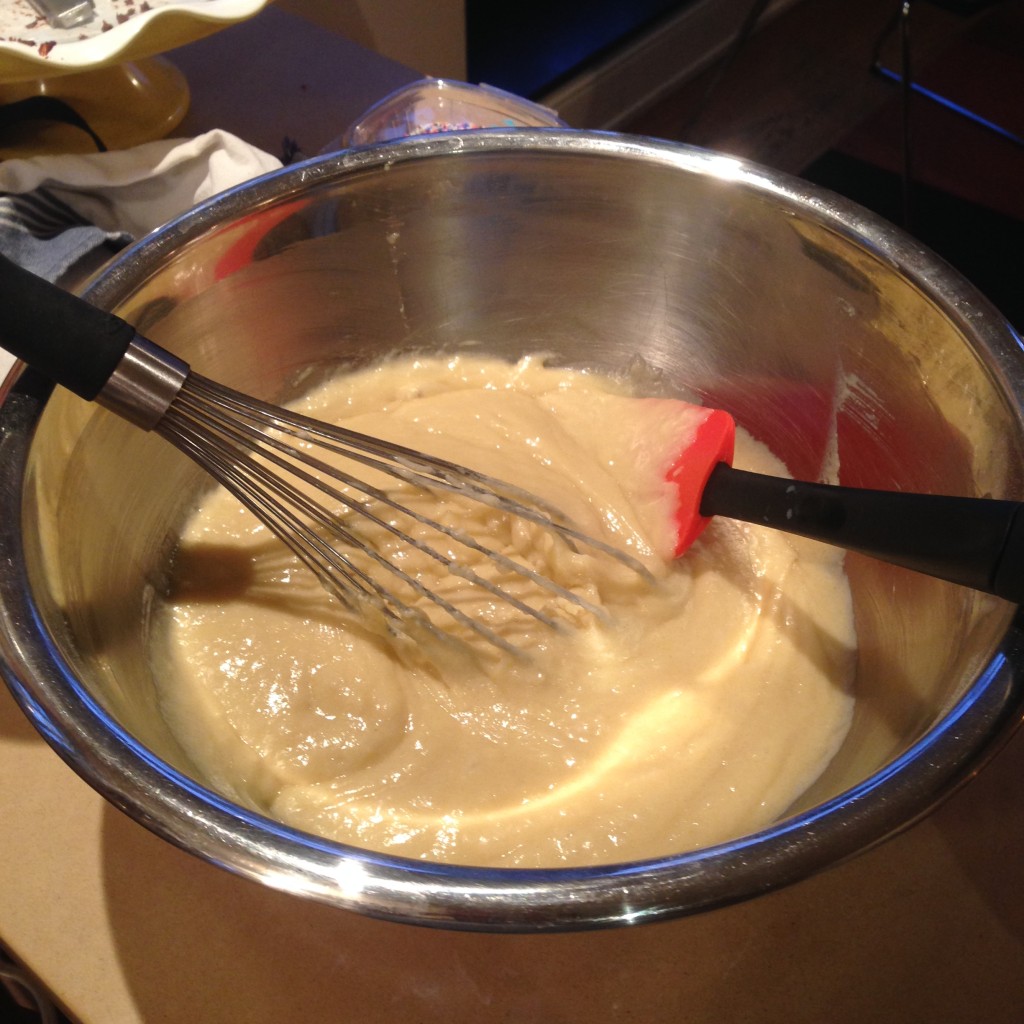 Then pour over the dry ingredients and whisk that too.
 Â
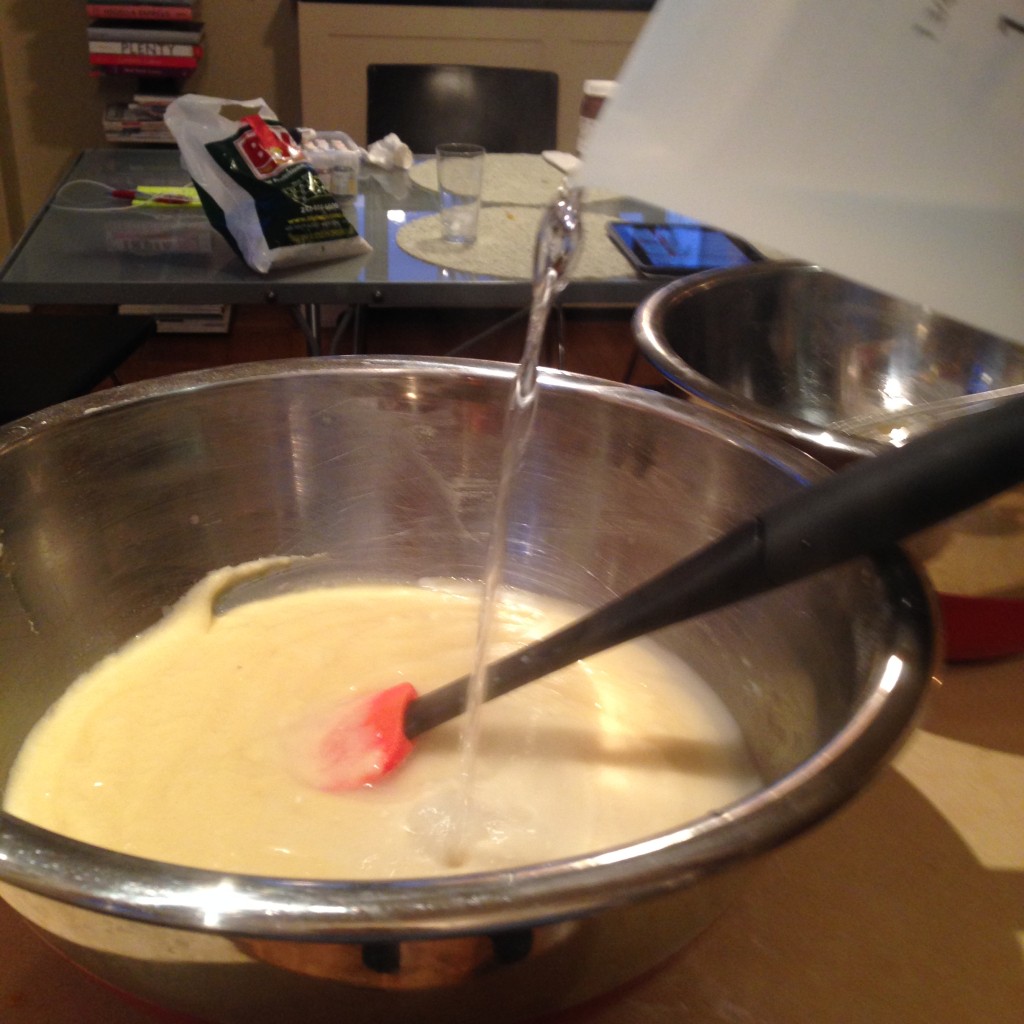
 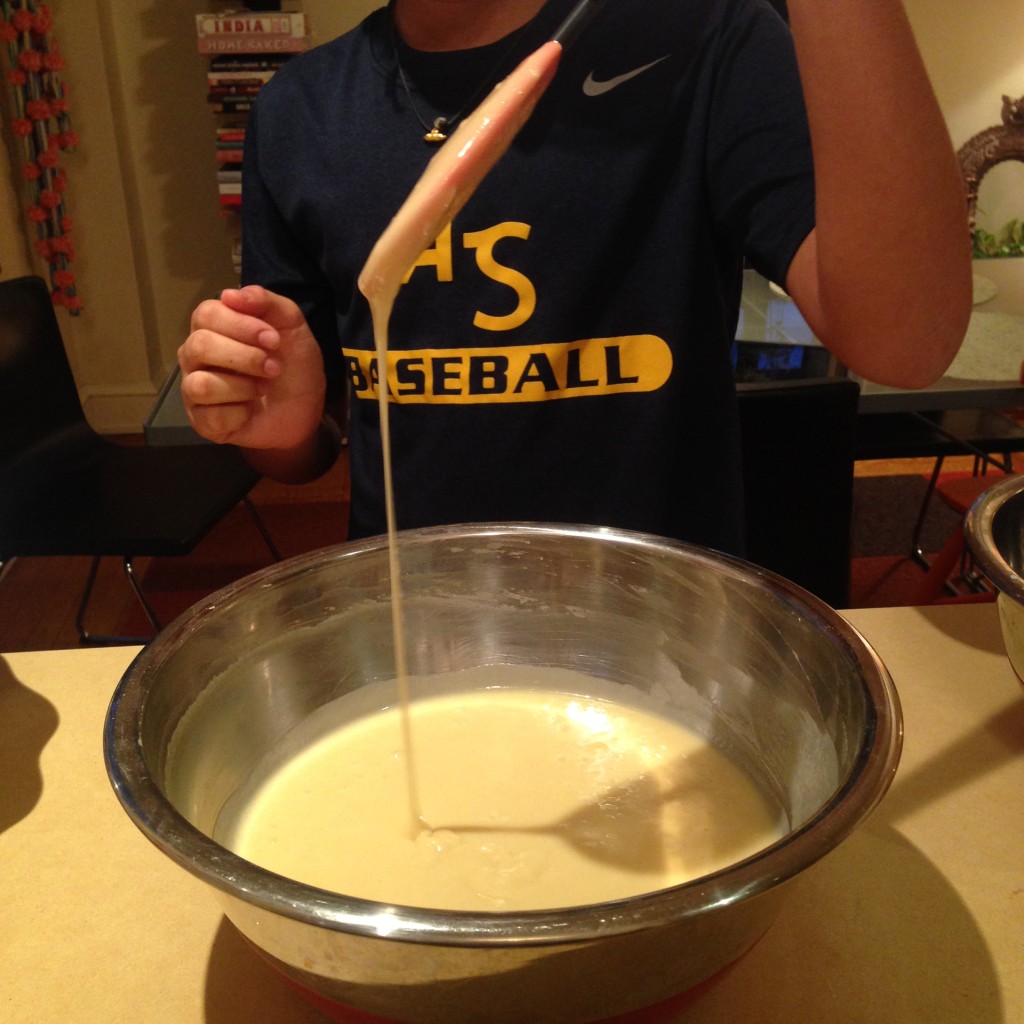 Then, you’re going to do something weird: pour boiling water into it. I’ve never seen this in a recipe before so I was like ummm okay but I followed the instructions and it worked! It just results in a pretty thin batter.
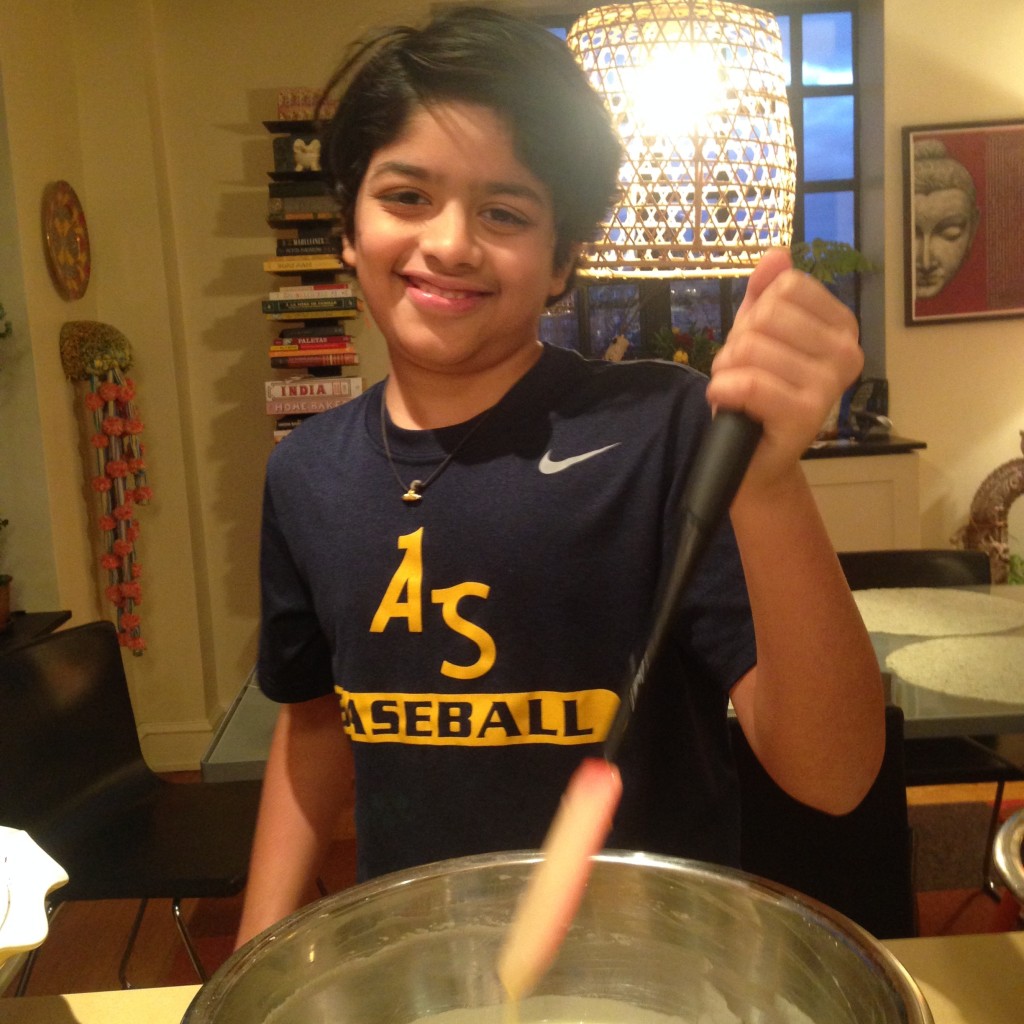 Make sure you have a dingbat to help you do the dirty work.
 Â
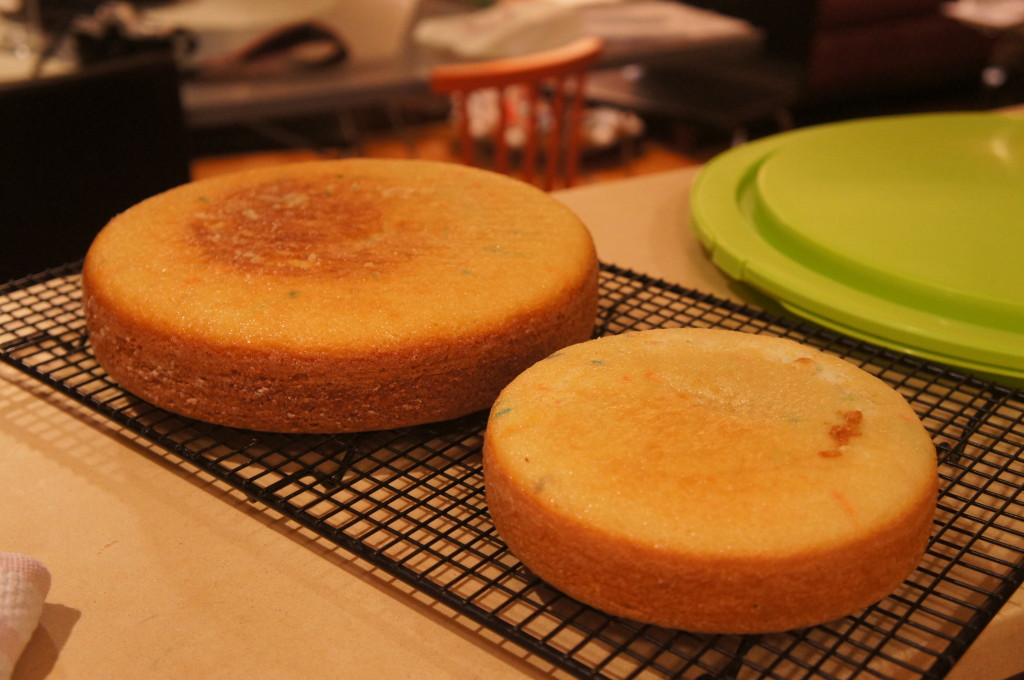
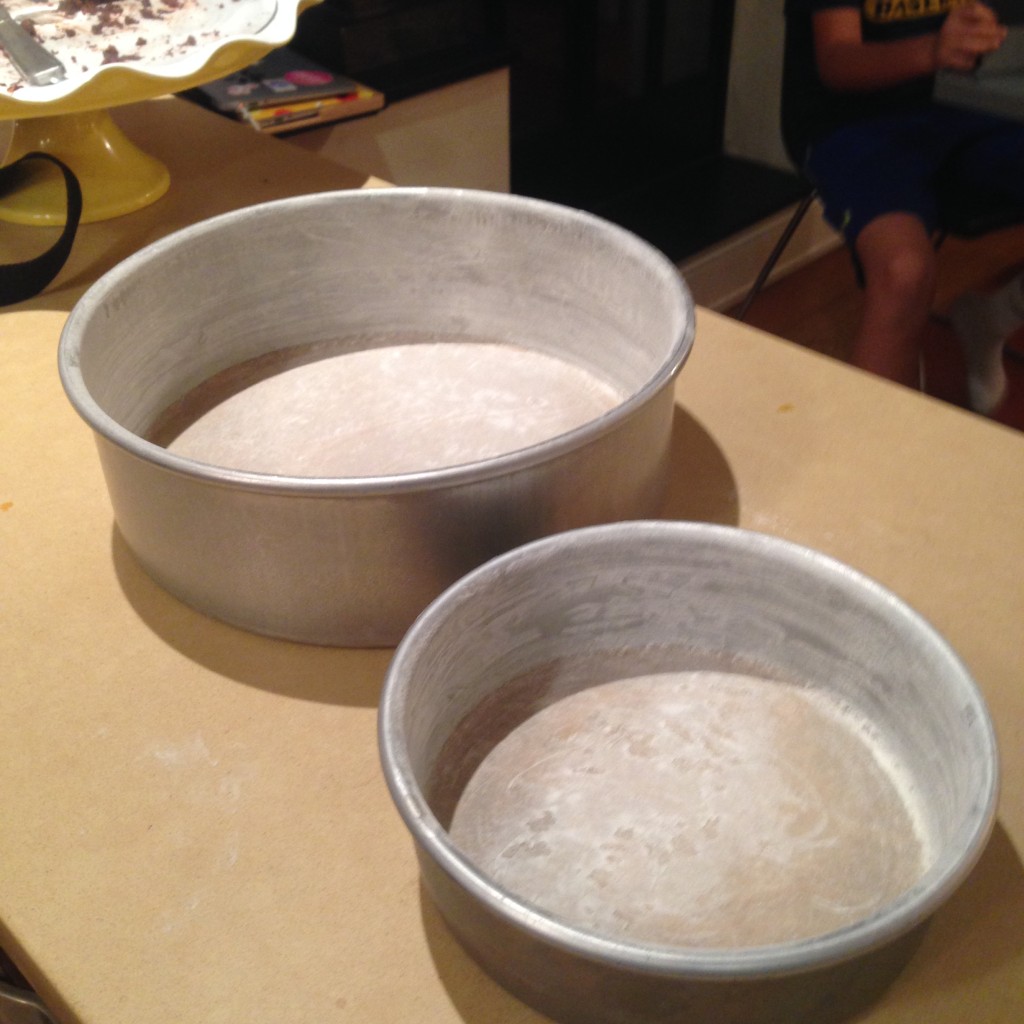
 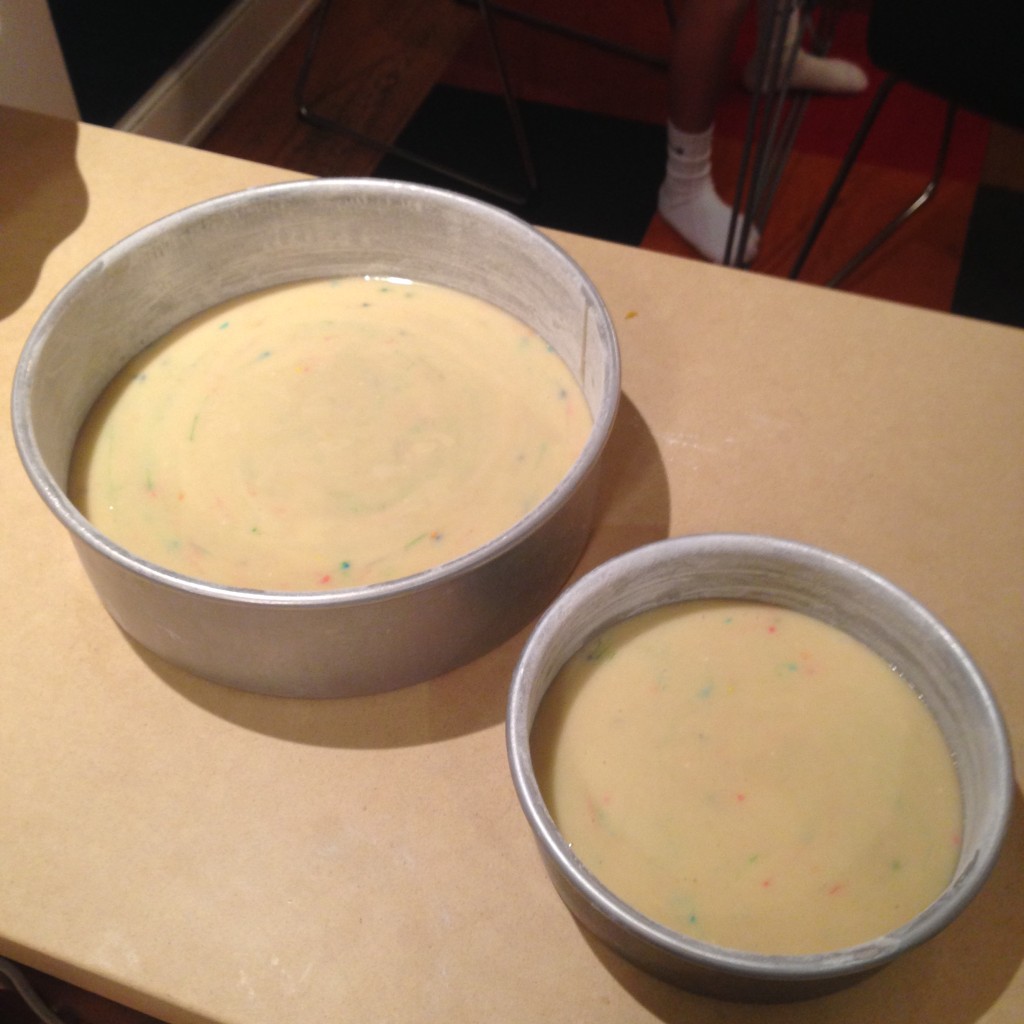 Then just fill the pans with the batter! (make sure the pans are buttered/floured with parchment circles). I ended up using the biggest pan we had (like a 9 inch I think?) and the smallest one we had. I also added some sprinkles at the last minute because I couldn’t help myself.
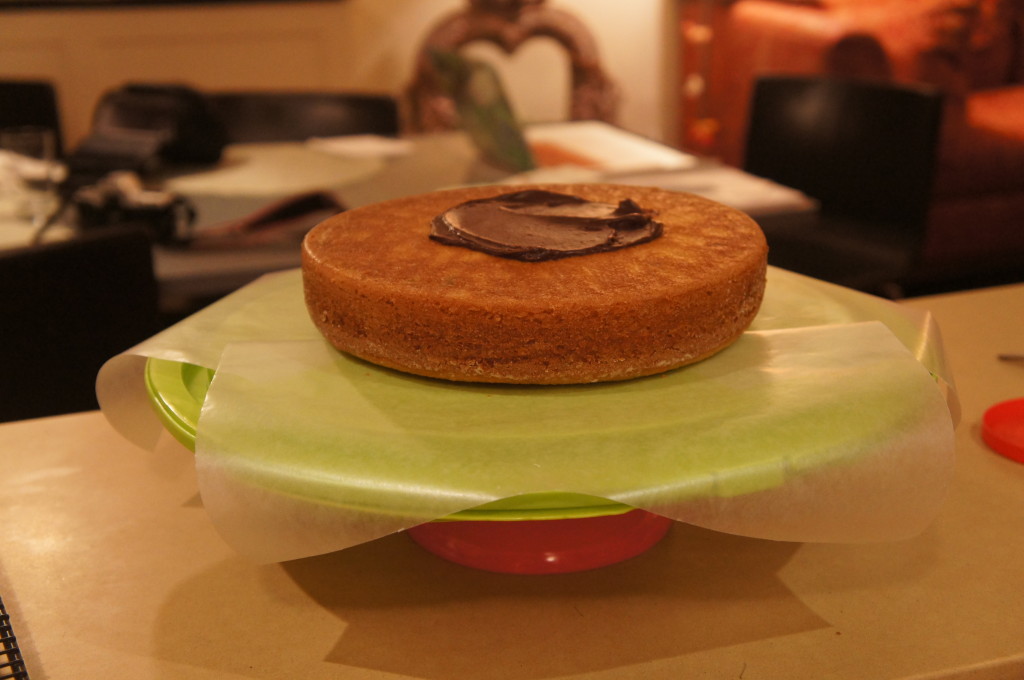 Stack them onto a cake plate and make sure to put frosting underneath so it doesn’t slip! Also put wax paper under the edges if you’re feeling neat or whatever.
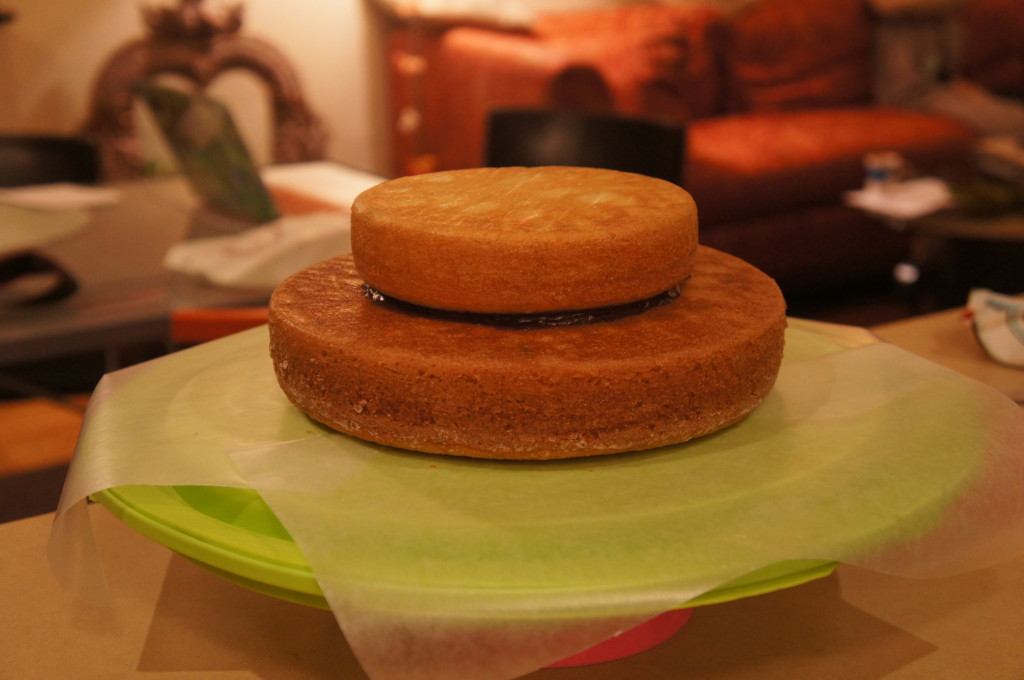 Put the little cake on top of the big cake!
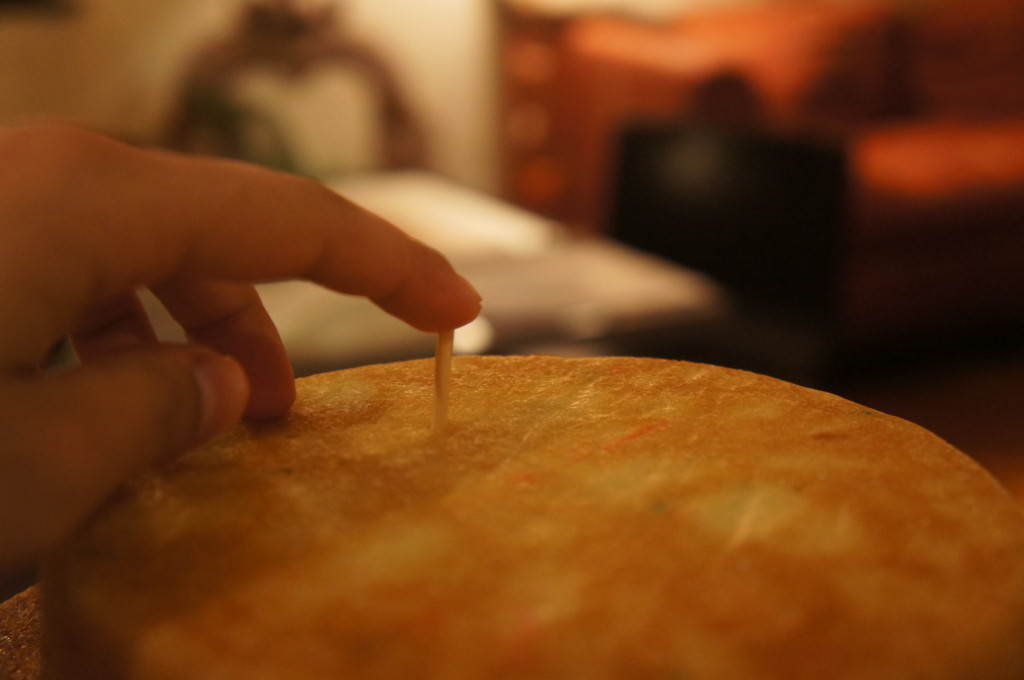 You can put a few dowels into the cake if you want to be extra sure it doesn’t slip!
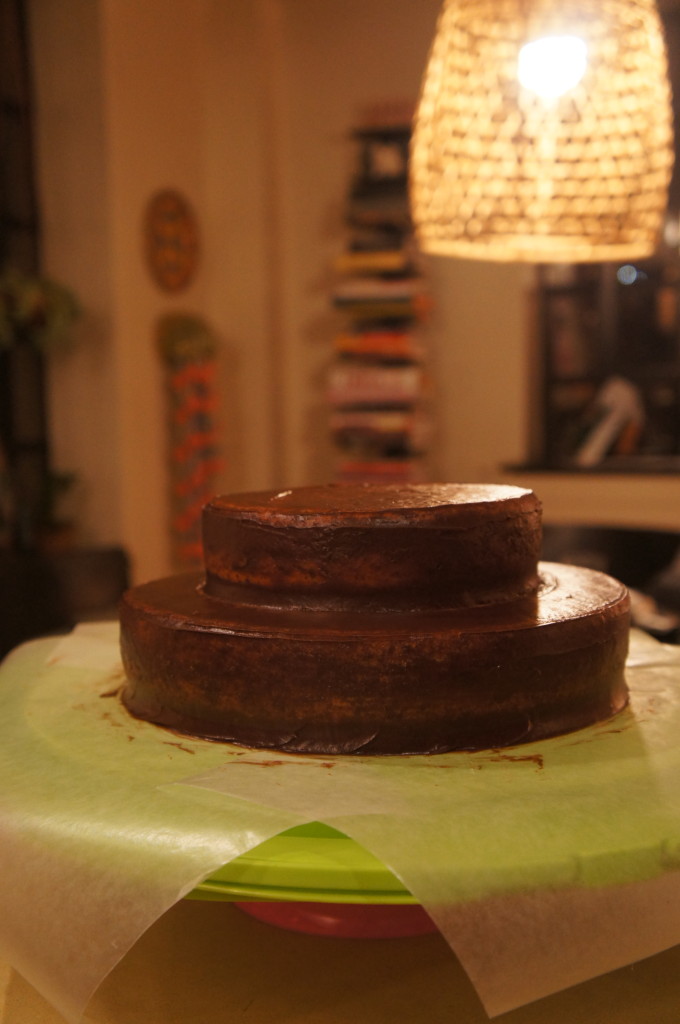 Then do a crumb coat! And stick it in the fridge.
(this is optional too but I always do it because it makes me feel like I’m on food network Challenge)
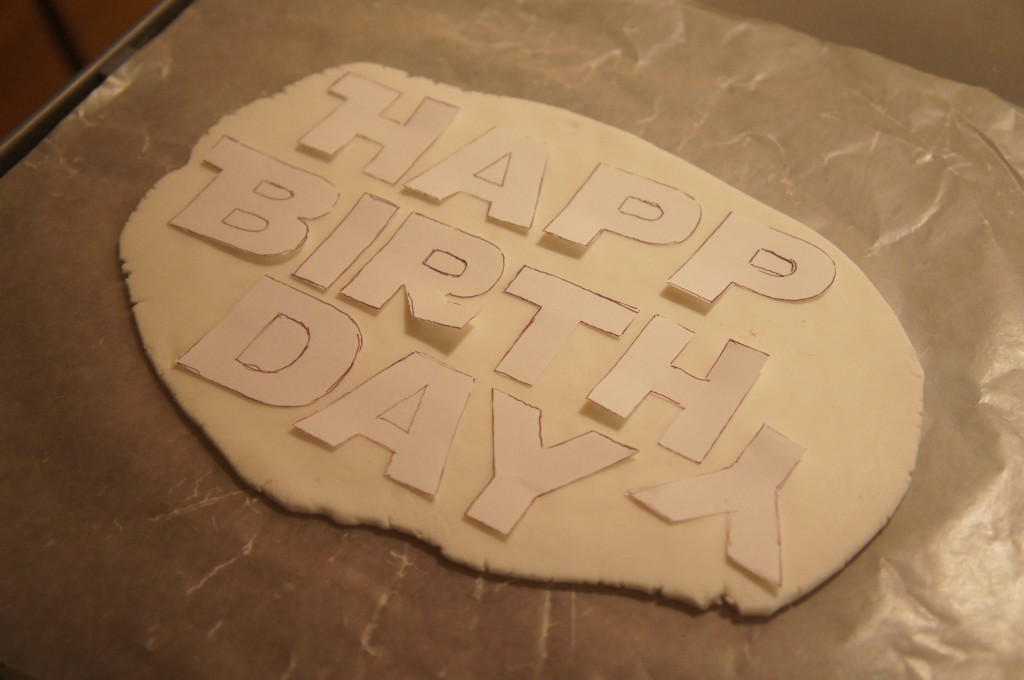 Then to make the “happy birthday” letters on the side, I used fondant!
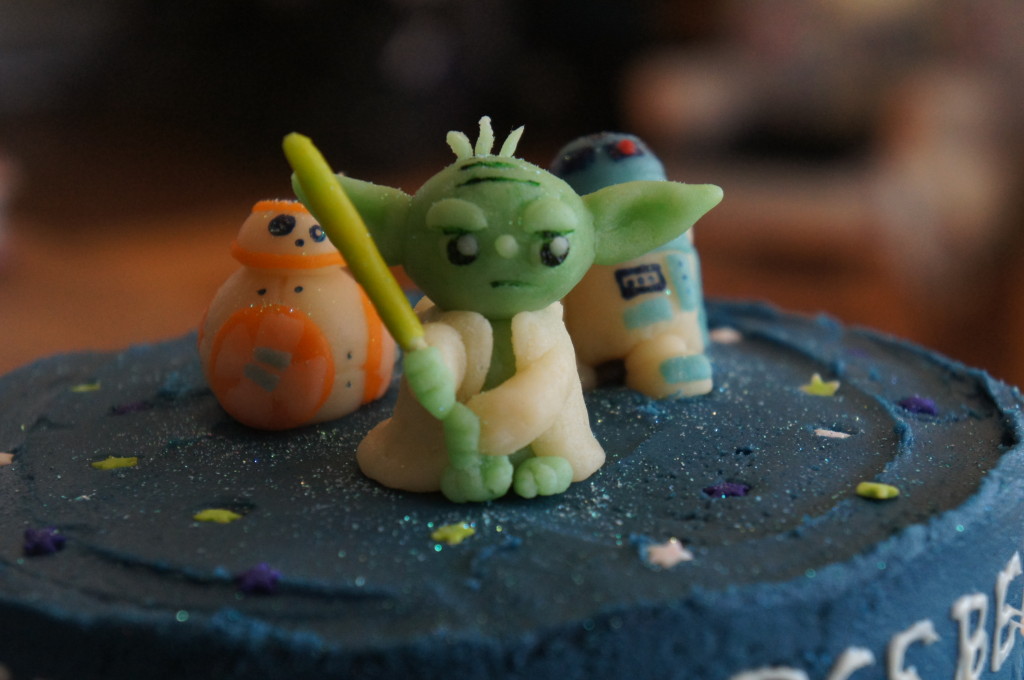
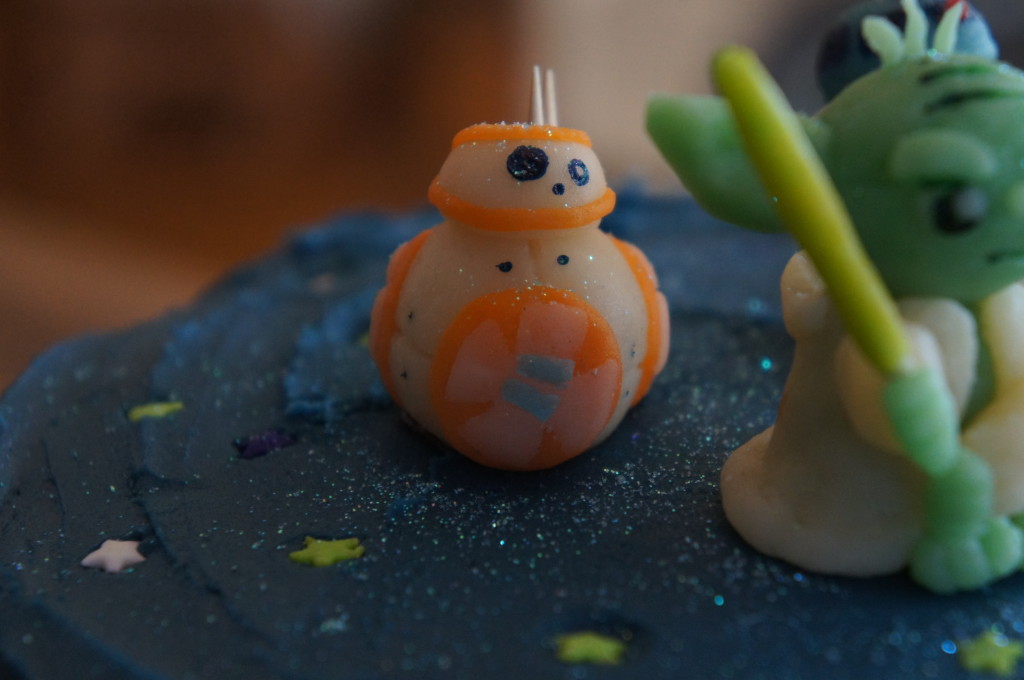
I feel like kind of a hypocrite for doing this because I’m the type of person who’s always like “I hate fondant!” and I only use marzipan because I like to be artisanal or whatever, but I realized that these letters just wouldn’t work unless I used fondant so I had to step off my high horse and buy some Buddy Velastroâ„¢ fondant from Michaels’ (which also killed me inside because I hate buddy velastro). But anyways I realized that fondant actually doesn’t even taste bad so in the future I’ll probably just use it for everything including the figurines on top of the cake because marzipan is just too sticky and messy to be quite honest (although it does taste good).
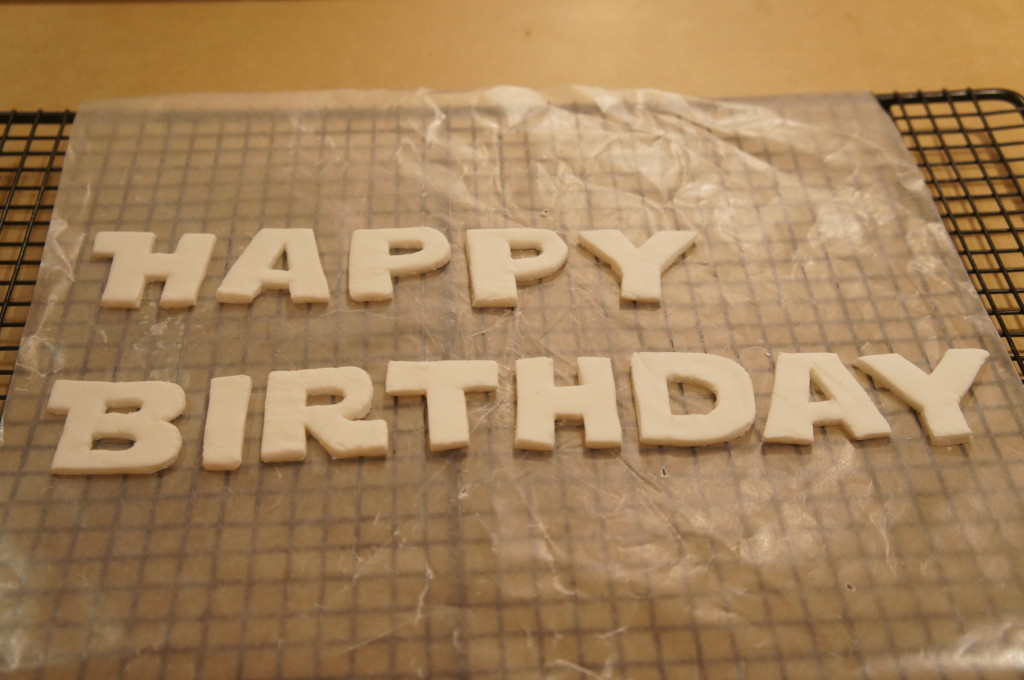 Anyways, I cut the letters out of paper and then used a swiss army knife to cut them out of fondant. It wasn’t that hard as I thought it’d be!
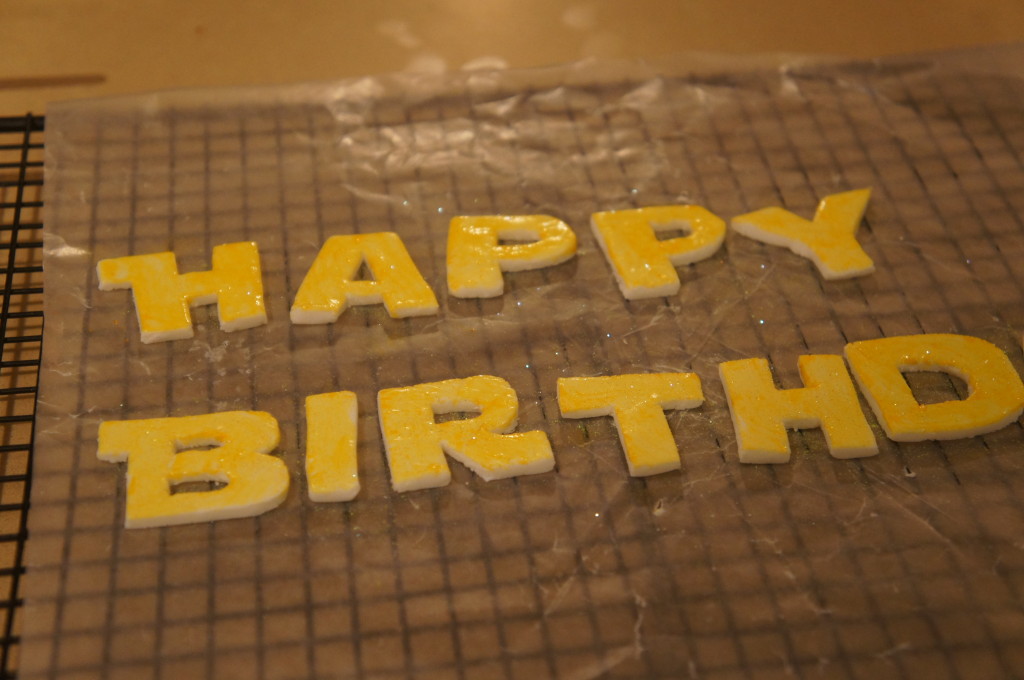 Then I realized that I made a really embarrassing mistake, which is that I forgot to make the letters their iconic YELLOW. So I had to use my sharp wits to think of a Plan B and I just mixed some gel food coloring with water and painted them yellow. I also added some edible food glitter for pizzazz.
Anyways, by this point it was getting really late at night and I kind of conveniently forgot to take pictures. But I’ve drawn a step-by-step of how I assembled the rest of the cake so maybe this will help!
Yeah that probably doesn’t make any sense. But I’ll decipher it for you:
- Make a batch of buttercream frosting and make it as dark blue as you can (which won’t be very dark unless you use like your entire bottle of gel food coloring)
- Frost the cake
- Add the figurines/dragees/letters/etc.
- I also wrote “may the force be with you” with some canned vanilla frosting I found lying around.
And you’re done! Make sure to douse in extra glitter for that space-y look.
I wanted to make Kylo Ren and Matt the radar technician too but I ran out of time. It was a sacrifice I had to make.
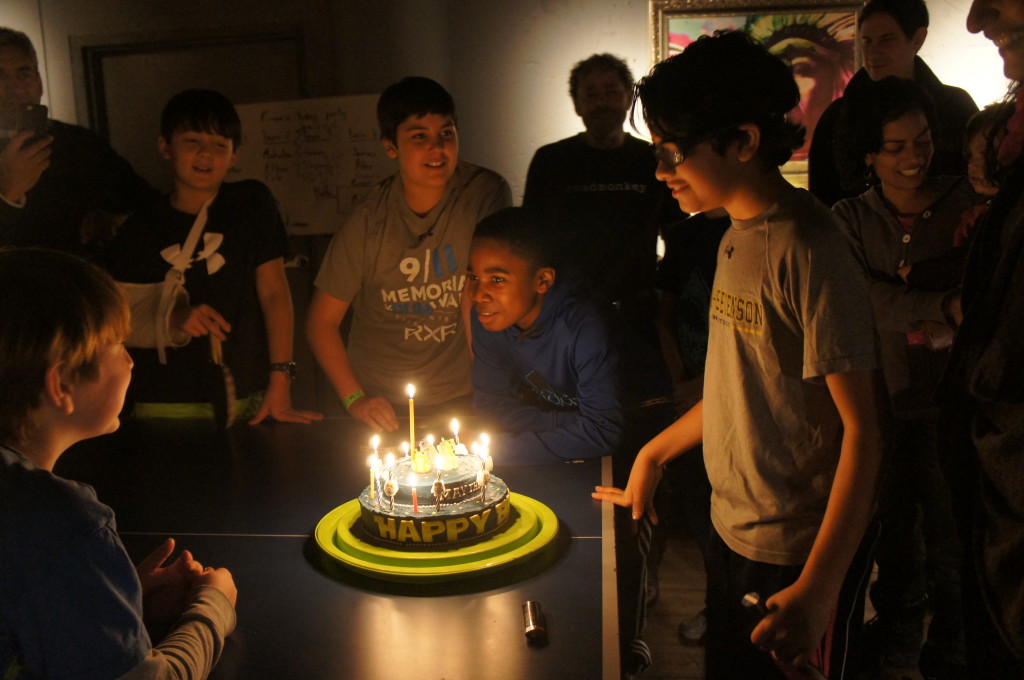 Happy birthday Bubs – may the force be with you.
Here’s the cake recipe!~
Vanilla Cake
(makes one 2 layer, 8 inch cake)
Ingredients:
- 1 3/4 c sugar
- 2 1/2 c all-purpose flour
- 1 1/2 tsp each: baking soda, baking powder, kosher salt
- 2 large eggs
- 1 c buttermilk
- 1/2 c flavorless oil, like canola
- 1 1/2 tsp vanilla extract
- 3/4 c boiling water
Steps:
- Preheat oven to 350.
- Grease two 8-inch round cake pans and line the bottoms with parchment (or whatever sizes you’re working with).
- In a large bowl, whisk together all the dry ingredients. In a medium bowl, whisk together all the wet ingredients except for the boiling water. Whisk the wet ingredients into the dry ingredients and then stir in the boiling water. It will be a very thin batter. Pour into cake pans and bake until the tops are lightly browned and a toothpick inserted into the center comes out clean. Begin checking for doneness at 28 minutes.
- let cool in the pans for 10 minutes, and then turn onto a cooling rack.
*for the frosting, I just used the recipe on the side of the powdered sugar box!

